 User guide for families
Tips for professionals and people working with families
Working with the family, the aim of the Resilience Wall Framework is to help them think strategically and practically about doing things resiliently in their day-to-day lives as well as consider each individual within the family unit.
When exploring each of these sections in turn we recommend:
- The first step is to spend time with the family briefly reviewing the entire framework to familiarise with the key sections. Within each section is a range of examples, ideas or suggestions to consider.
- To take your time. Consider setting a timeframe to decide how many sessions you plan to have over the coming weeks/months.
- To go at the family’s pace. The framework is designed to be an engaging two-way communication process, so each person should be involved throughout. Where there is a family member with no voice, e.g. a young child, encourage everyone to help their voice into the conversation.
How to use the Resilience Wall Framework
STEPS
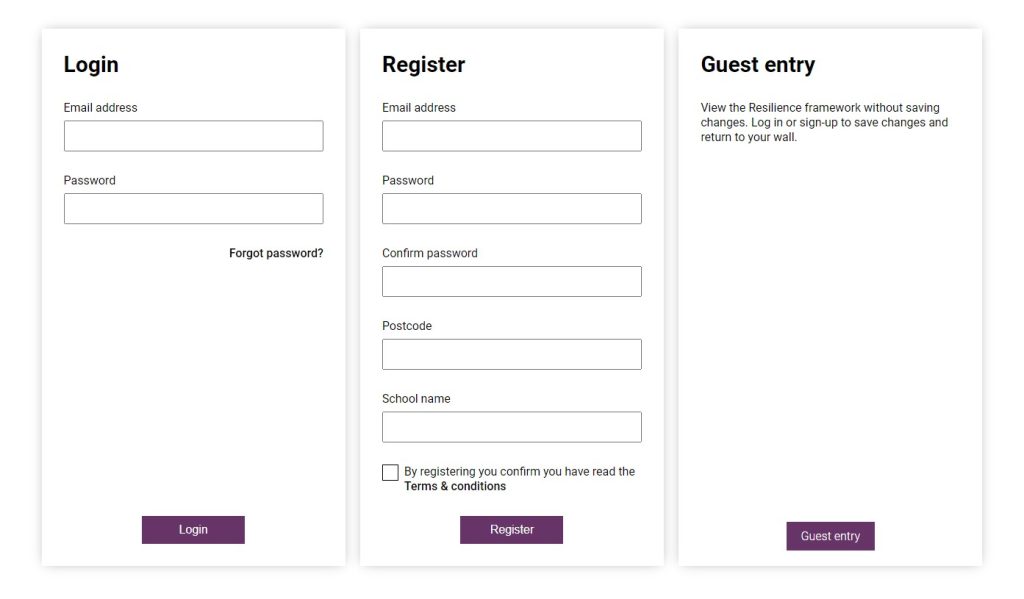
1. You can either use the tool as a guest or register and create a username and password.
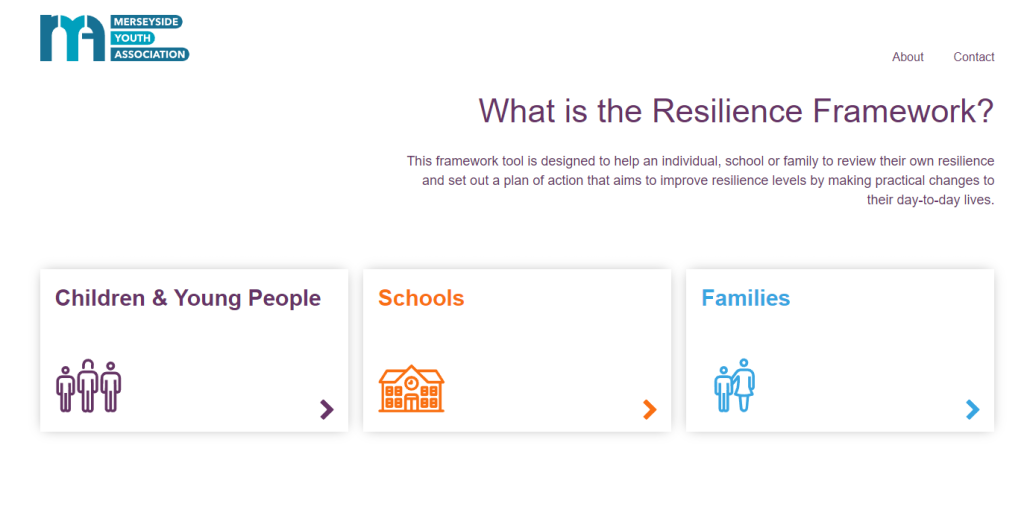
2. Creating a username will allow you to save your resilience walls, add to them in the future and use them to compare progression and updates. If you use the tool as a guest, you won’t be able to save your walls.
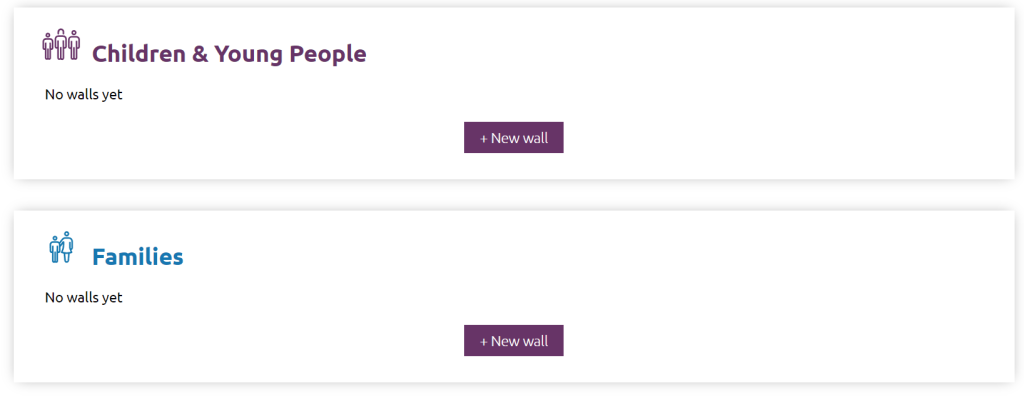
3. Once you’ve logged in, you will be taken to the My Walls page. Click the button to create your Resilience Wall.
4. You will then be taken to the Resilience Wall Framework.
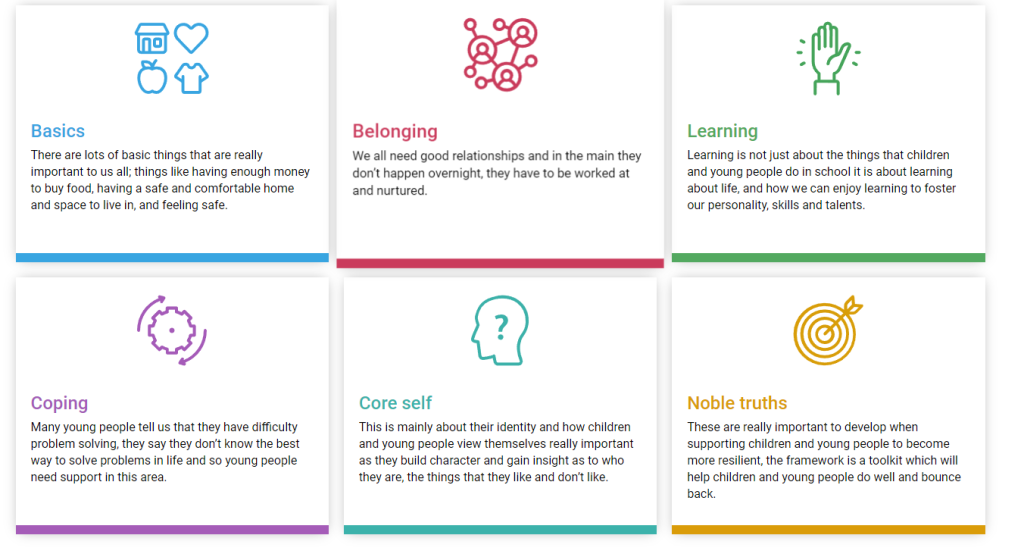
5. From this page you will be able to start working on your resilience wall, building it brick-by-brick.
Clicking on each box will open up a new page displaying the various elements of that part of the framework.
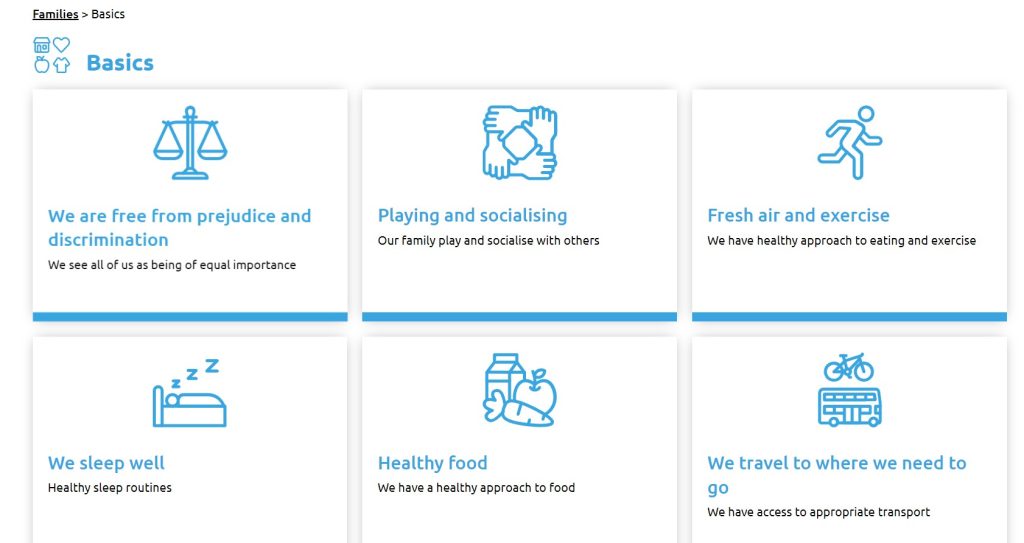
6. Select which brick you want to review and click the box. You can work through each section at your own pace, in any order you wish.
You will now see a series of suggestions and points to consider to help you review your family’s approach to resilience in relation to that specific aspect of the wall.
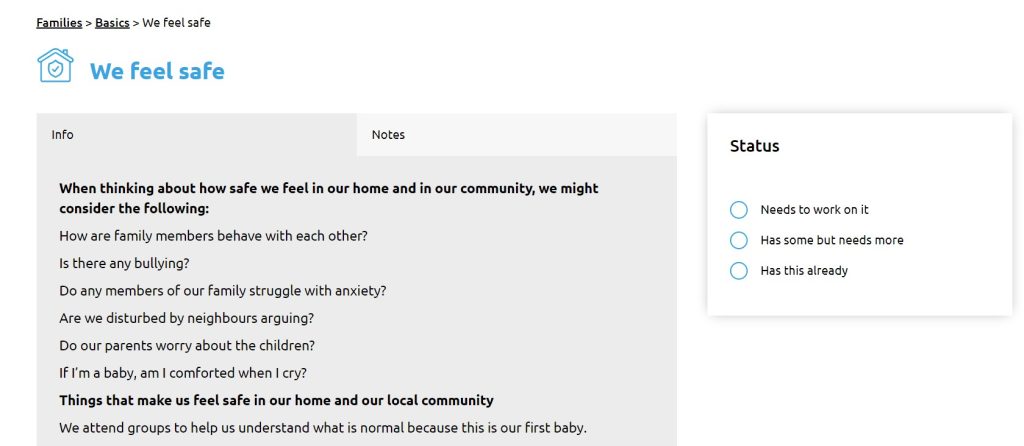
7. This page may also contain useful links and resources.
By clicking on the notes tab, you will see a series of prompts designed to help you record actions and steps you intended to take in relation to strengthening resilience in this area.
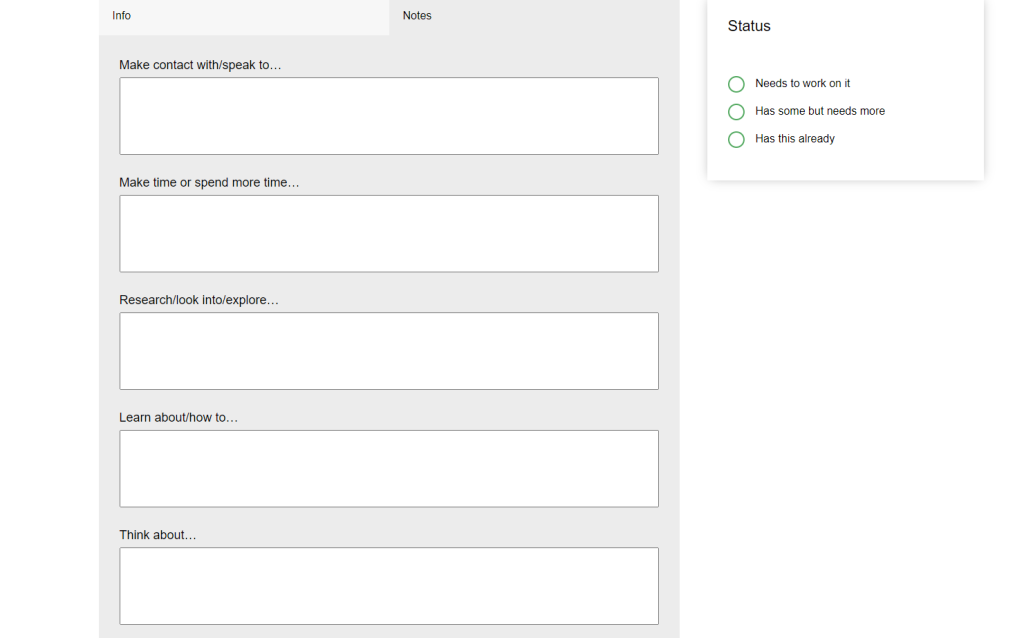
You can identify the status by clicking on the relevant button. Your selection will save automatically.
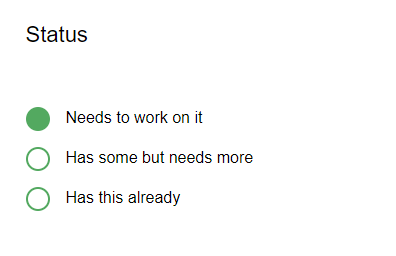
The notes you make on each section will form your overall action plan.
You can work your way through your resilience wall at your own pace. The notes you add will save automatically but you can go back and edit them.
8. You can return to your resilience wall and continue progress by clicking the ‘My Walls’ tab.
In this section you will be able to view your wall(s).

To rename your wall you can click on the pencil icon. Make sure you give each wall a different name.
To continue working on, or edit your wall, click on the eye icon or the wall name.
If you want to make a new wall, click the button to begin. You will be asked to give your new wall a name.
Downloading your resilience wall
Your resilience wall can be accessed online, but if you’d like to download it and print a copy, just click the ‘Download PDF’ which you’ll find at the bottom of each page.
You can create a PDF of individual bricks, selected sections, or your full resilience wall.
If you make notes, they will only display on individual brick PDFs, not sections or your full resilience wall.


